Creating VMs with Anka.app
Create VMs using the Anka desktop application instead of anka create
CLI creation is recommended.anka createinstalls macOS, creates useranka/ passwordadmin, disables SIP, and enables VNC automatically. The GUI path requires manual setup. See Creating VMs.
Steps
- Click Create new VM.
- Leave the installer blank and click Options for non-default values.
A blank installer targets the latest macOS from Apple’s CDN (updates.cdn-apple.com). Use your own.ipswwith the CLI if you need a specific version.
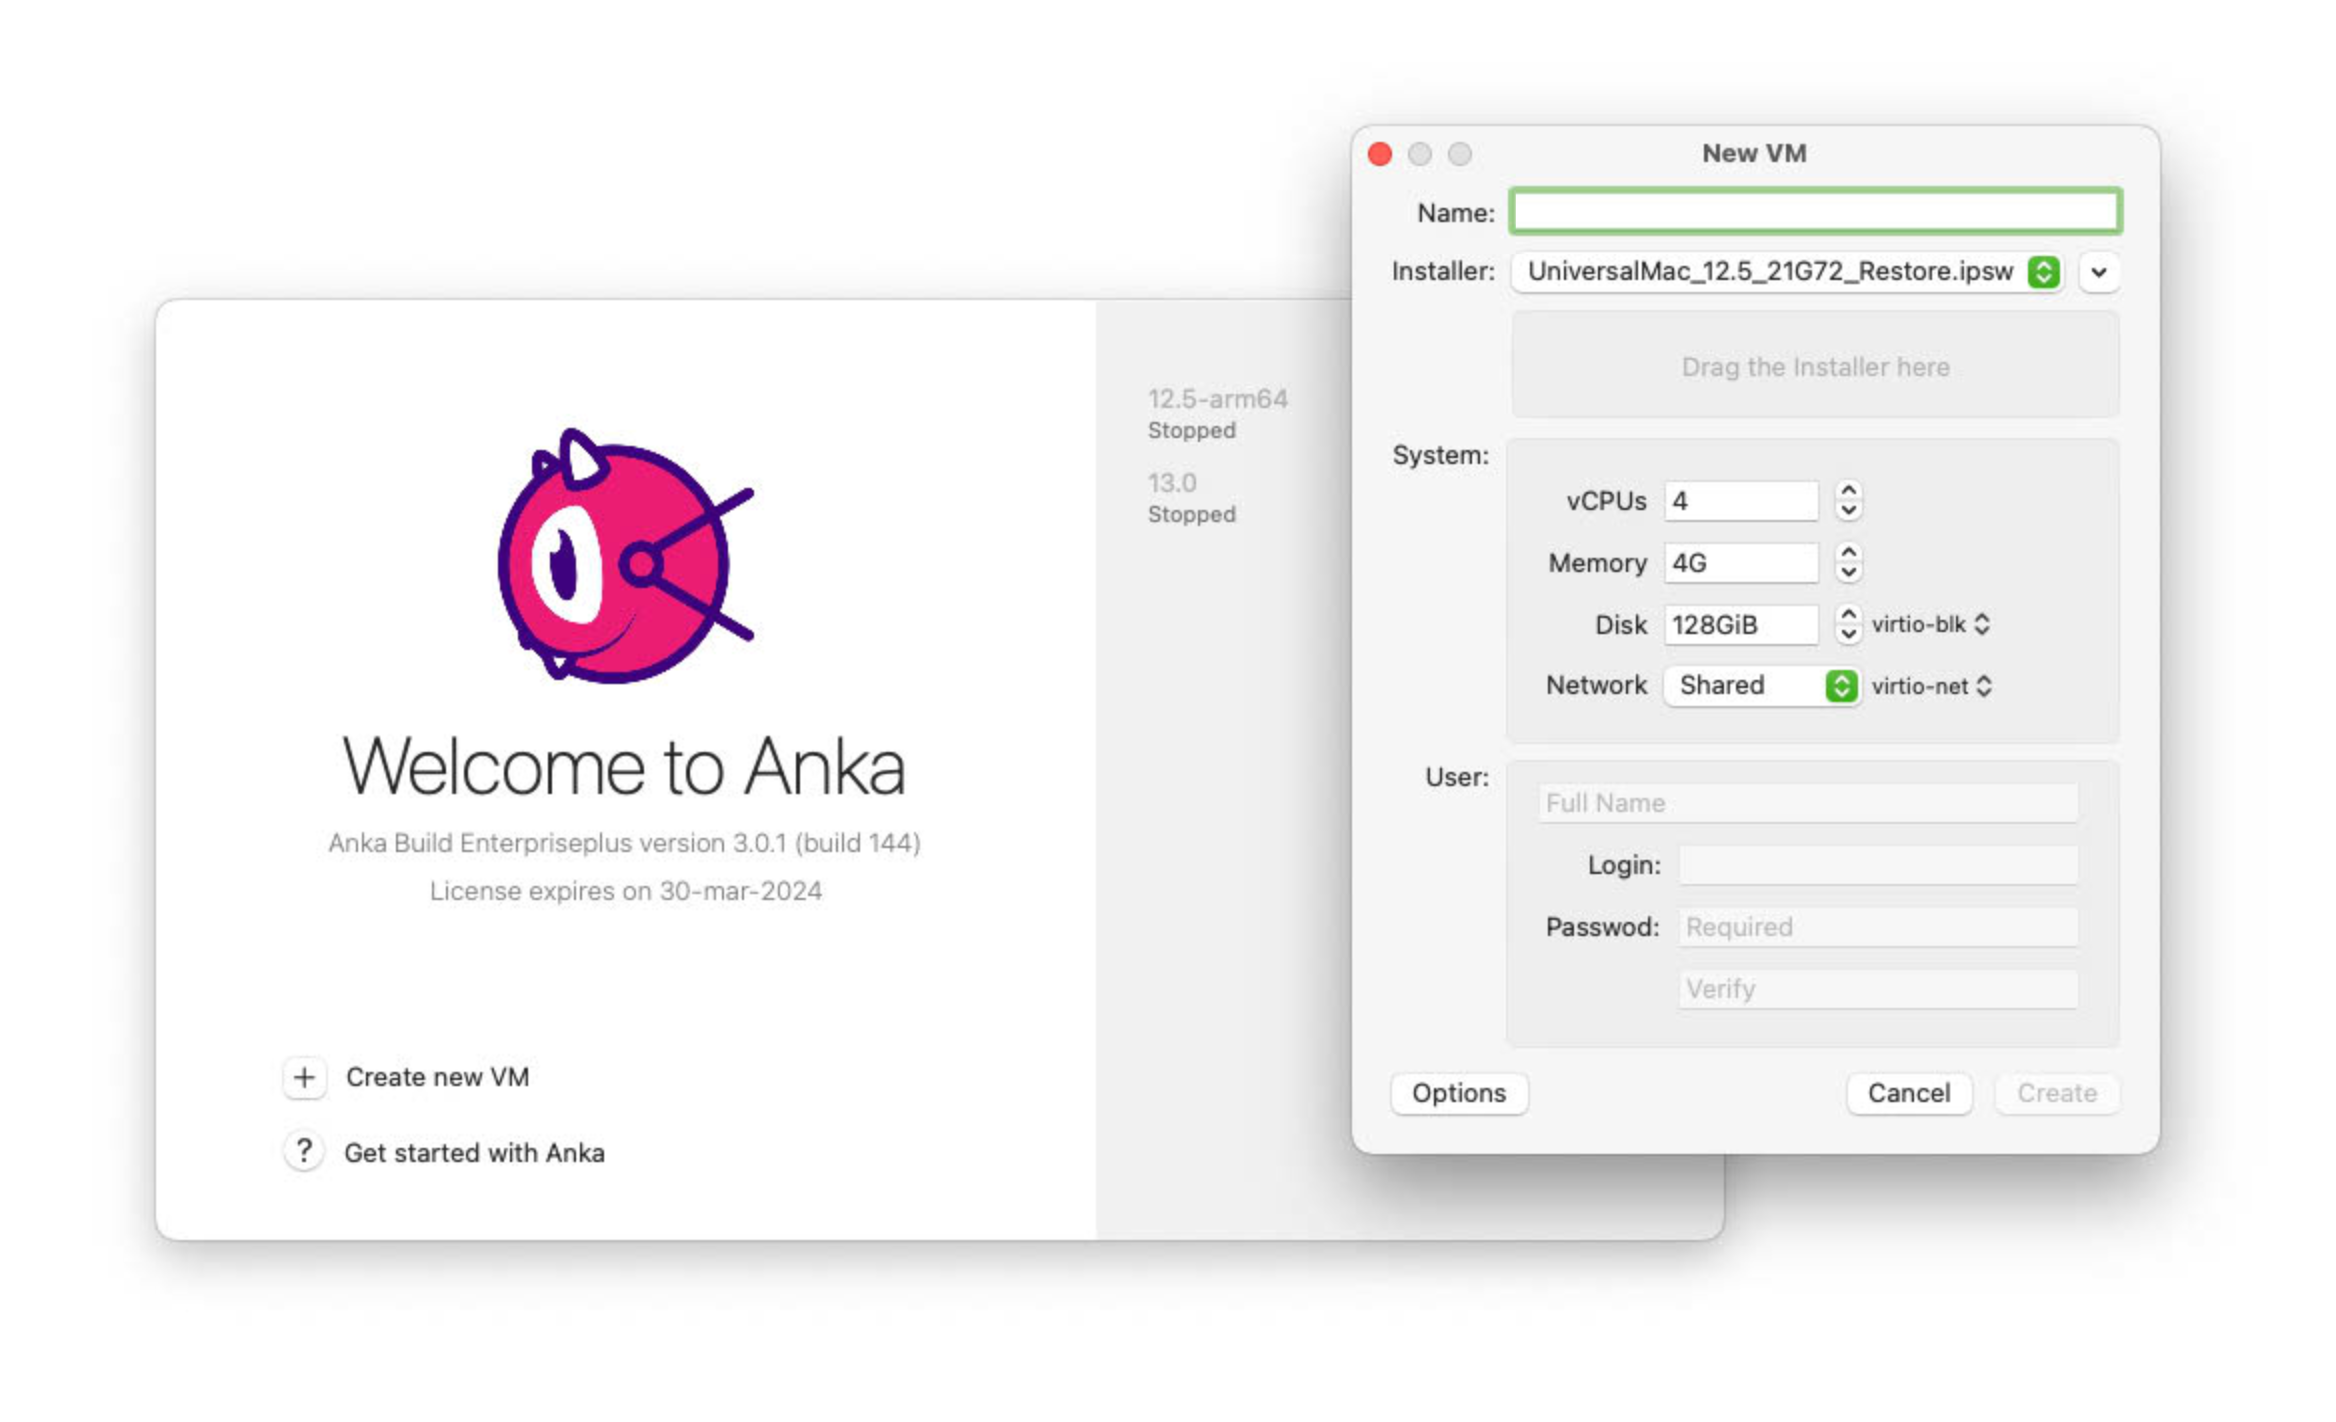
- Wait for creation to finish. The VM appears in the sidebar.

Post-creation setup (required)
The GUI does not run the same automation as anka create.
Start the VM with
anka start -uvto open the Anka Viewer and mount addons. Do not use-uvin scripts; it is for interactive sessions only.anka viewonly works after start if you used-v.- ARM:
sudo anka viewas a non-root user is not supported yet. Enable VNC for VMs started withsudo.
In the viewer, finish macOS installation and install the addons package from the disk mounted with
-u.Reboot the VM.
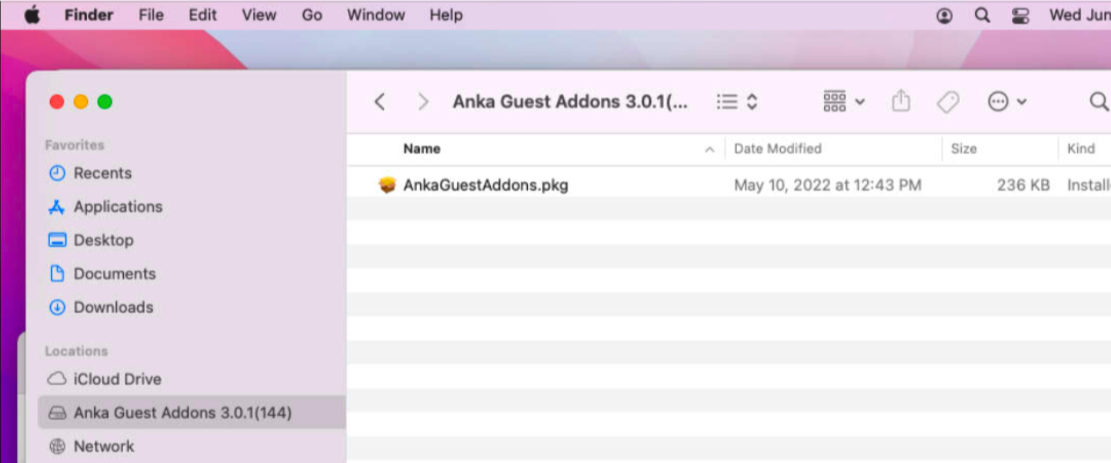
For addons and autologin to work, create userankawith passwordadmin, or configure autologin manually for your user.
Disable SIP (recommended for CI)
SIP is enabled for GUI-created VMs only (anka create disables it automatically).
With SIP on, commands can hang on permission dialogs, and syspolicyd scans processes and uses extra CPU and RAM.
Start recovery mode:
ANKA_START_MODE=2 anka start my-ci-vm
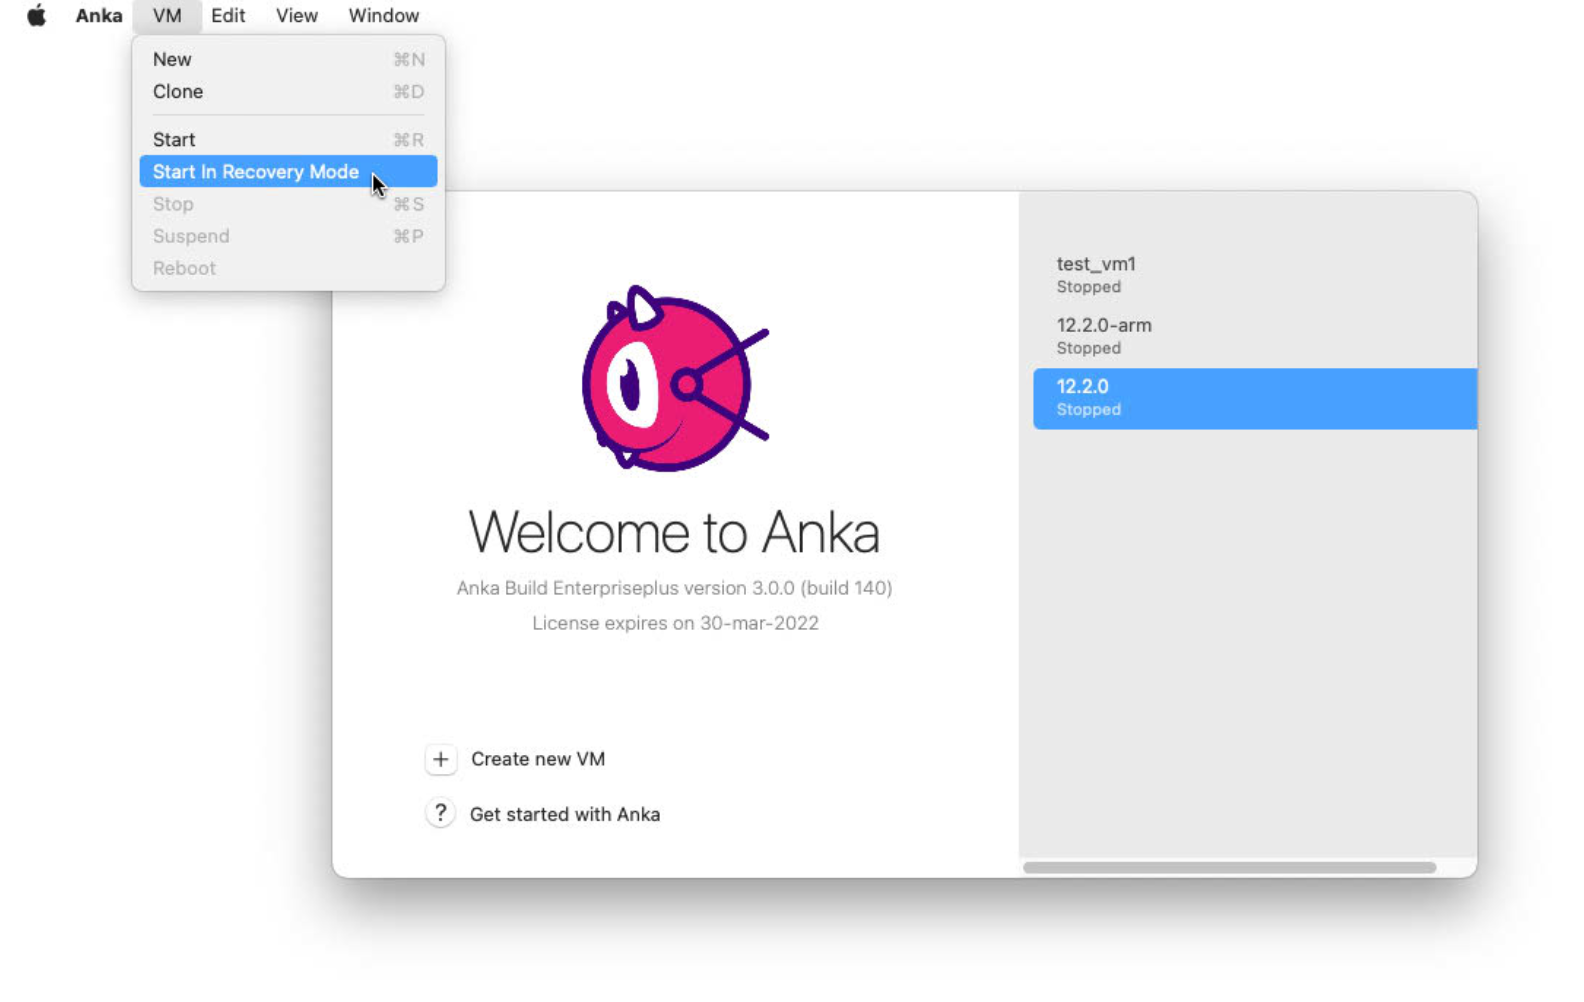
In Recovery, open Terminal and run csrutil disable. Stop the VM. SIP is off on the next boot.