Install and use the Anka Virtualization CLI to create, run, and manage macOS VMs on Apple Silicon and Intel Macs.
Using Anka
Anka Virtualization CLI
There are many ways in which our customers utilize the Anka Virtualization CLI to automate the VM creation and preparation process:
- Through the
anka createcommand on the host machine:❯ anka create my-ci-vm 26.6.2 - By executing your project installation commands and scripts inside of VMs from the host terminal with
anka runand also directly inside the VM withanka cp&anka run. - Any manual steps you need to perform in the GUI can be done through VNC or automated with Anka Click Scripts.
- Create Packer Templates and run them to perform the steps for VM creation and preparation with our Packer plugin.
Check out the Getting Started installing and using Anka CLI Guide.
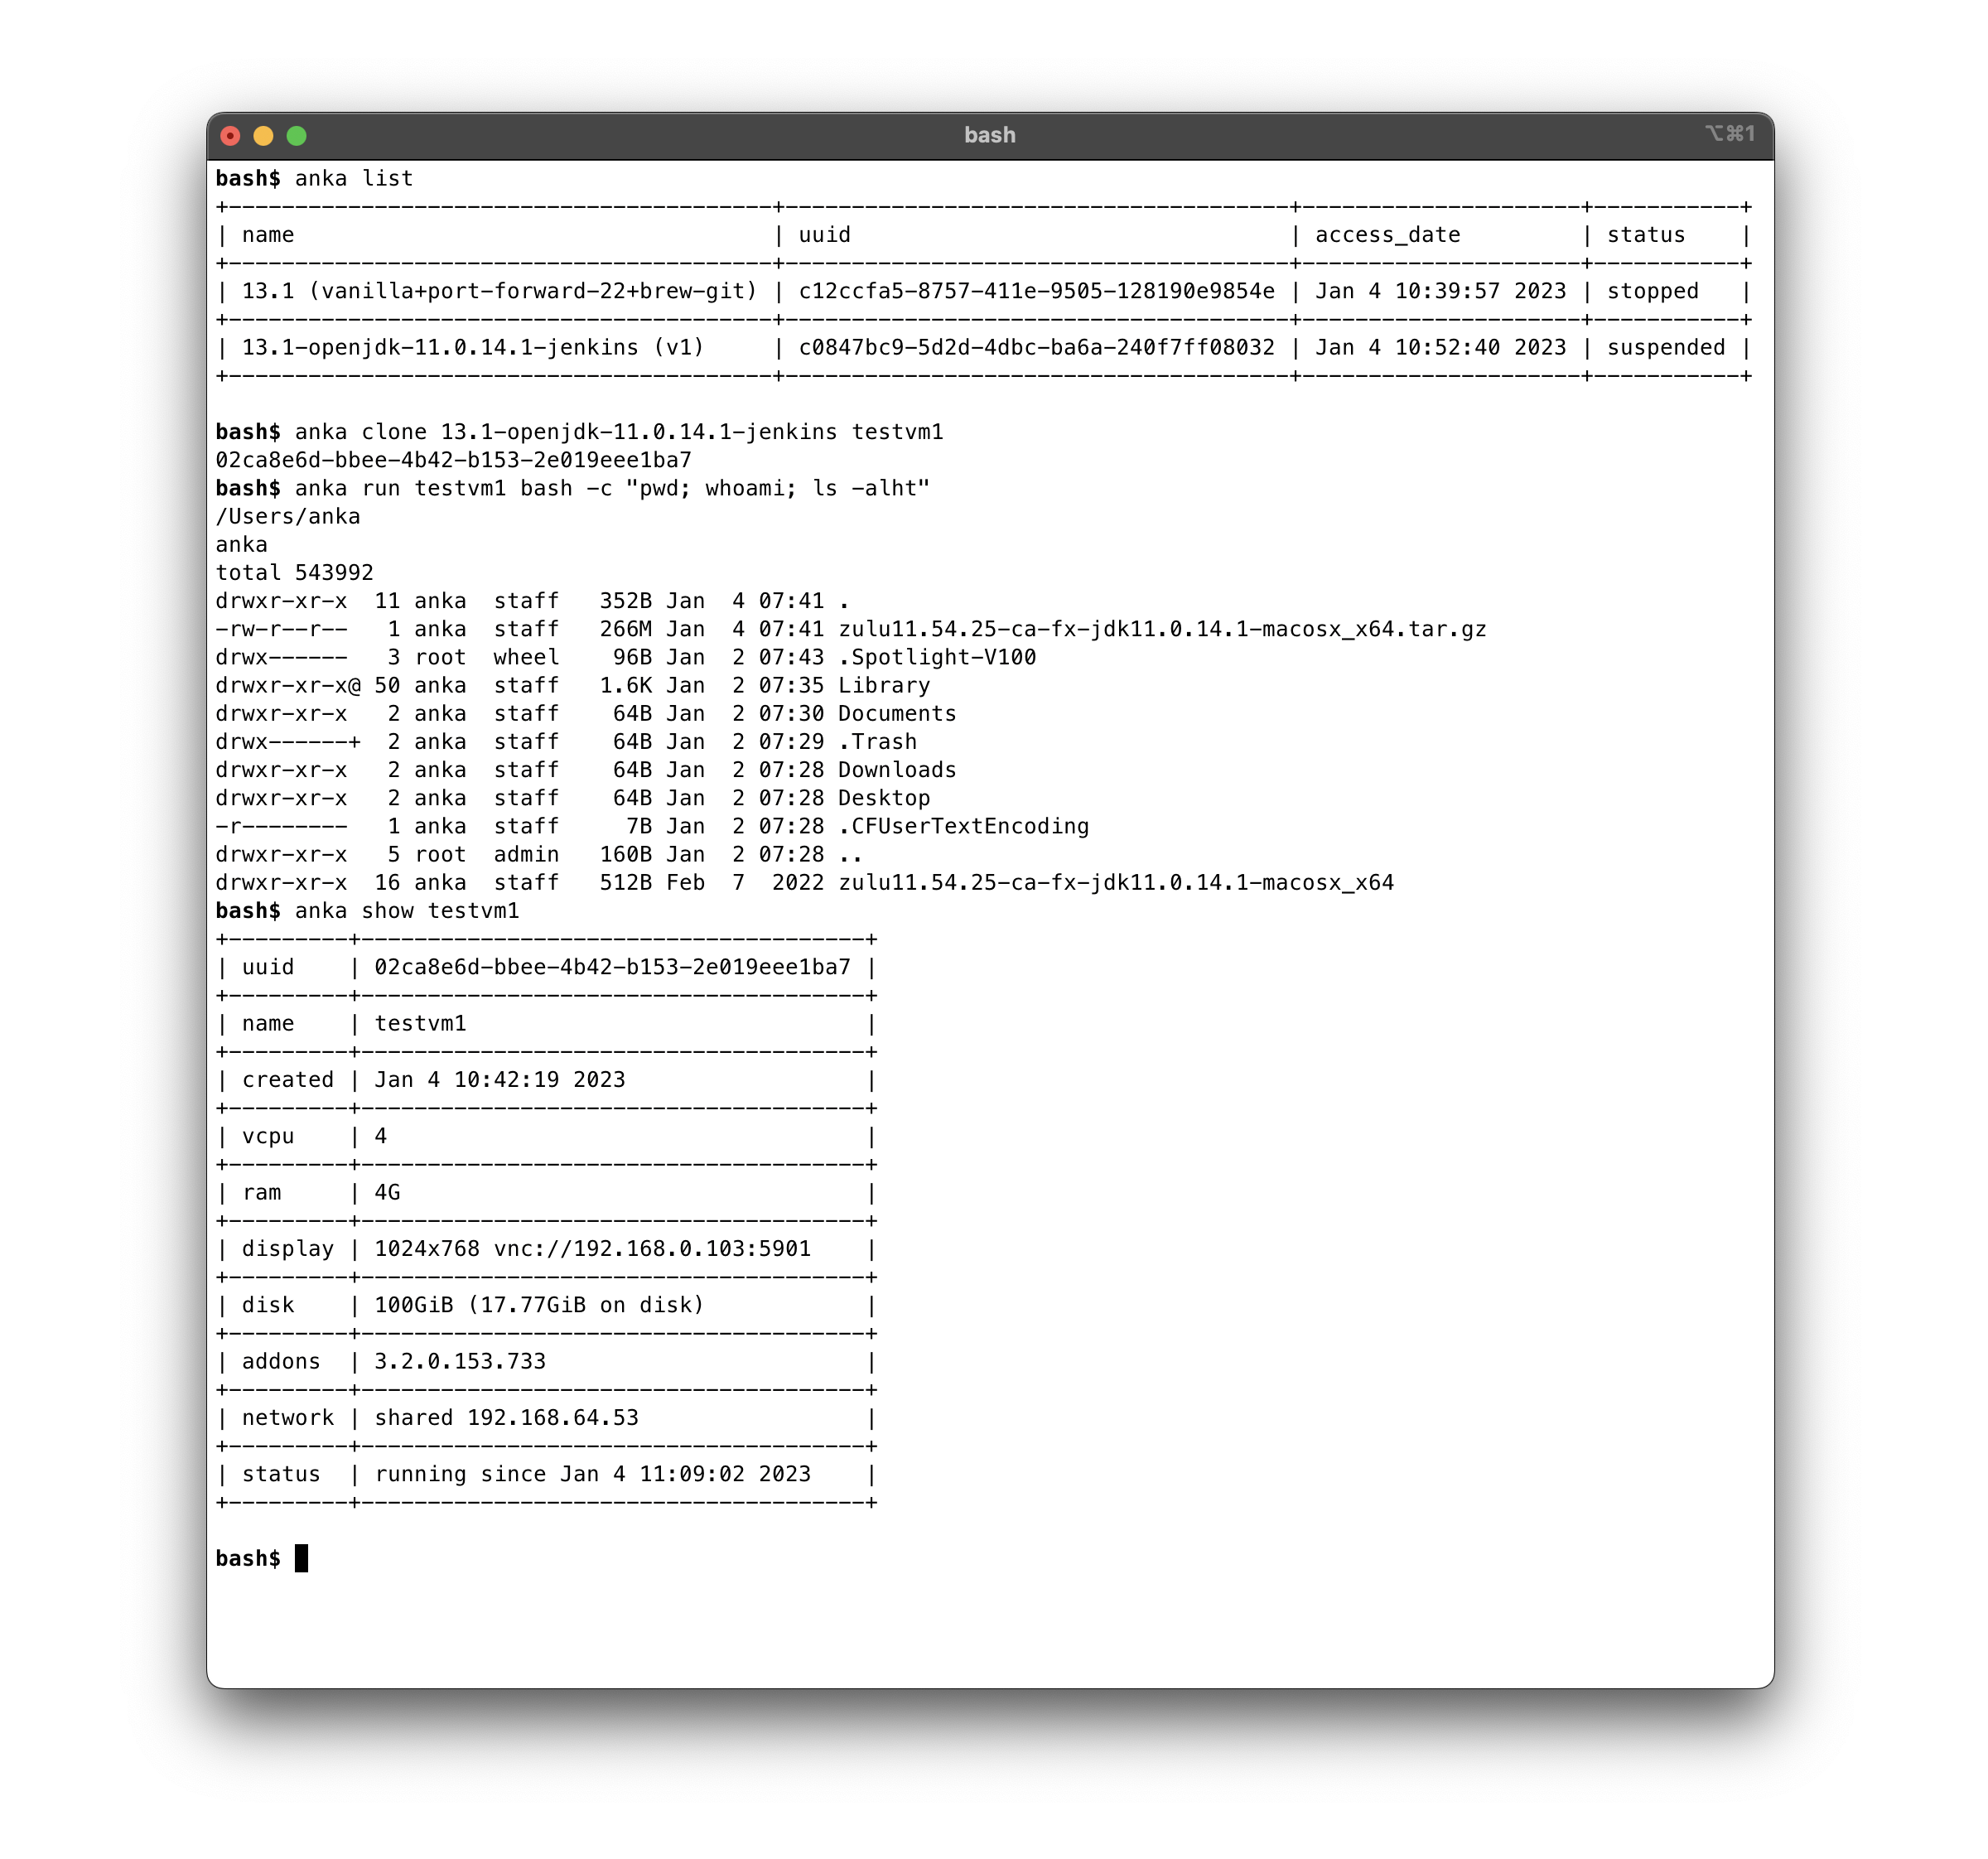
- Review the Glossary.
- Install Anka Virtualization Package.
- Create a VM — quick start plus compatibility, clones, export/import, and related topics in the Creating VMs section.
- Access and modify your VM.
- Optional: Build Cloud registry for team-wide template storage.
Getting Started (CLI)
Step by step to understanding the Anka Virtualization CLI
Command-line Reference
Anka CLI Reference
Modifying the Global Configuration
How to modify the Global Anka Virtualization configuration
Upgrading (CLI)
How to upgrade the Anka Virtualization package
Working with OCI Registries
Push and pull Anka VM templates to OCI Distribution–compliant registries using the Anka CLI
Uninstalling (Anka)
Steps for uninstalling the Anka Virtualization package
Working with USB Devices (intel only)
Using the Anka CLI and API to setup and manage USB devices.
Advanced Security Features (CLI)
Advanced Security Feature for the Anka CLI (enterprise or higher license required).
Graphics Acceleration / Apple Metal
Using Apple’s Metal inside of your Anka VMs.
Nested Virtualization (intel only)
Running Docker and other types of virtualization within your Anka VMs.