Setting up the Controller & Registry on Linux/Docker
Welcome! This tutorial guides you through setting up your Anka Build Cloud Controller & Registry on either Linux/Docker or MacOS.
This guide is for first time users and shouldn’t be used for upgrading. Please use the upgrading guide instead.
Checklist
- Set up the Anka Build Cloud.
- Get Orientated.
Install the Anka Build Cloud with Docker
Perform the following steps on the machine intended to run the Controller & Registry and not the node running the Anka Virtualization software.
Necessary Hardware
- A machine running Linux to install the Anka Controller & Registry.
- We recommend starting the Controller with 2CPU and 4GBs of memory and the Registry with 2CPU/1GB as it’s more CPU reliant. The database for the Controller, ETCD, recommends the following:
Typical clusters need two to four cores to run smoothly. [For memory] typically 8GB is enough.
- A Mac to install Anka CLI as a Node.
While it’s possible to run Docker on mac, it’s not recommended. An Anka Controller & Registry package exists for native macOS if absolutely necessary.
Necessary Software
- Docker
Docker-Compose – Be sure to follow the Post Installation setup in order to run docker-compose without using sudo.
Download and Extract the Docker Package
FULL_FILE_NAME=$(echo $(curl -Ls -r 0-1 -o /dev/null -w %{url_effective} https://veertu.com/downloads/ankacontroller-registry-docker-latest) | cut -d/ -f5)
PARTIAL_FILE_NAME=$(echo $FULL_FILE_NAME | awk -F'.tar.gz' '{print $1}')
mkdir -p $PARTIAL_FILE_NAME
cd $PARTIAL_FILE_NAME
curl -Ls https://veertu.com/downloads/ankacontroller-registry-docker-latest -o $FULL_FILE_NAME
tar -xzvf $FULL_FILE_NAME
You can also manually download the file called “Cloud Controller & Registry (Run on Linux Instance)” from the Anka Build Download page.
Configuration
We’ll need to do two things.
Edit the
docker-compose.ymland change the variable ANKA_ANKA_REGISTRY, setting it to the proper URL. It should look like:ANKA_ANKA_REGISTRY: "http://<ip/fqdn>:8089". Please avoid trailing slashes on the URL.Edit the
docker-compose.ymland underanka-registry > volumes("Path to registry data folder.") uncomment# - ****EDIT_ME****:/mnt/vol. Change this to include the host directory you wish to mount into the container and be used for Anka VM Templates/Tags/Centralized Logs. It should look similar to:- /var/registry:/mnt/vol
If you’re running these containers on mac (which you should avoid), you need to also change volume source from/var/etcd-dataand/var/registryto a writable location on your mac.
Start the containers
In the root package directory, execute:
docker-compose up -d
Verify the containers are running
docker ps -a

CONTAINER ID        IMAGE                 COMMAND                  CREATED              STATUS              PORTS                    NAMES
aa1de7c150e7        test_anka-controller   "/bin/bash -c 'anka-…"   About a minute ago   Up About a minute   0.0.0.0:80->80/tcp       test_anka-controller_1
0ac3a6f8b0a1        test_anka-registry     "/bin/bash -c 'anka-…"   About a minute ago   Up About a minute   0.0.0.0:8089->8089/tcp   test_anka-registry_1
03787d28d3a3        test_etcd              "/usr/bin/etcd --dat…"   About a minute ago   Up About a minute                            test_etcd_1
Docker Orientation and Testing
Anka Controller should be listening on port 80 (HTTP). Try pointing your browser to the machine’s IP or hostname. You can use localhost or 127.0.0.1 if you’re on the Controller machine.
Your new dashboard should look like the picture below
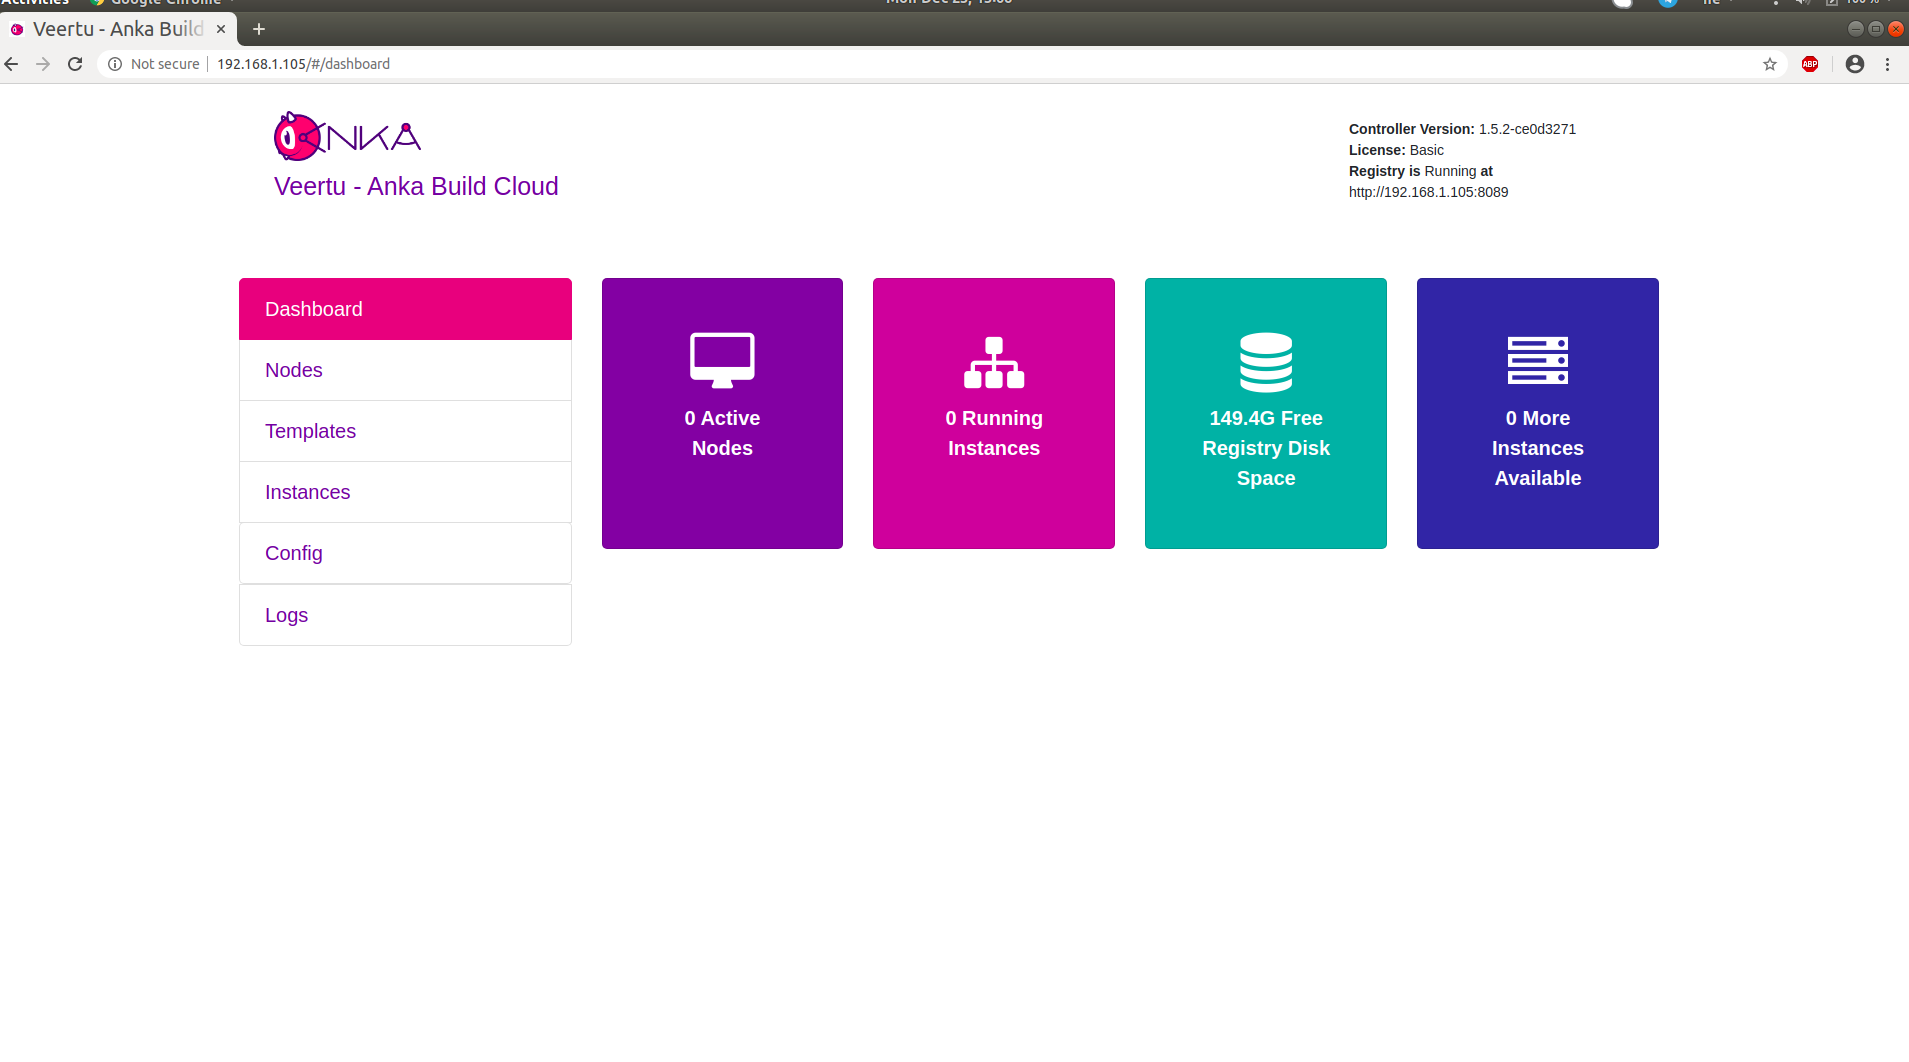
Let’s take a look at what is now running on your machine:
- Anka Controller is serving web UI and REST API on port 80.
- Anka Registry is serving REST API on port 8089.
- ETCD database server serving on ports 2379 and 2380 (used by Anka Controller; not public).
Anka Controller Container
- Default Port:
80 - Configuration files: Configuration is done through the docker-compose file under
environment:. (full configuration reference) - Logs will be written to: STDOUT/ERR. It’s possible to get the logs through
docker logscommand. - Data Storage: No data is saved on disk.
Anka Registry Container
- Default Port:
8089 - Configuration files: Configuration is done through the docker-compose file under
environment:. (full configuration reference) - Logs will be written to: STDOUT/ERR. It’s possible to get the logs through
docker logscommand. - Data will be written to: No default; You must set it in docker-compose.yml.
ETCD Container
ETCD is a critical piece of your Anka Build Cloud. It stores tasks, Node and VM Instance information, and many other types of state for the Controller service. If it’s not functional, the Controller will throw failures. We’ll orient ourself to the basics and defaults of the ETCD service we include with our package and then describe how to maintain it for optimal performance and stability.
- Default Ports:
2379 - Configuration files: Configuration is done through the docker-compose file under
environment:. (full configuration reference) - Logs will be written to: STDOUT/ERR. It’s possible to get the logs through
docker logscommand. - The data directory and the “DB SIZE” you see under the
endpoint statusare not the same thing. Disk usage can be significantly different, so you should monitor both independently.
Logging
Containers are writing logs to STDOUT+ERR, making them available to Docker.
To see the Controller’s logs:
docker logs --tail 100 -f test_anka-controller_1
To see the Registry’s logs:
docker logs --tail 100 -f test_anka-registry_1
By default, docker does not do log-rotation. As a result, log-files stored by the default json-file logging driver logging driver can cause a significant amount of disk space to be used for containers that generate much output, which can lead to disk space exhaustion.
Troubleshooting Tip
The log level can be modified from the default 0 value. The higher the number, the more verbose the logging. This can be done by modifying the
ENDPOINTin the controller/Dockerfile to add"-v", "10".
Testing ETCD Performance
Update: We have a more modern and accurate performance testing script available.
Testing ETCD performance to ensure it will run properly on your chosen hardware. This can be done by running etcdctl check perf command inside of the docker container:
❯ docker exec -it anka.etcd bash -c "etcdctl --endpoints=http://localhost:2379 check perf"
 60 / 60 Boooooooooooooooooooooooooooooooooooooooooooooooooooooooooooooooooooooooooooooooooooooooooooooo! 100.00% 1m0s
PASS: Throughput is 150 writes/s
PASS: Slowest request took 0.002838s
PASS: Stddev is 0.000141s
PASS
ETCD Compaction and Defragmentation
In versions of the Anka Build Cloud <= 1.27.0, we would have the Controller trigger a defragmentation every 3 hours. This is no longer the case and we perform no defragmentation by default. It actually turns out that defragmentation is not fully necessary (and dangerous since it prevents writing to etcd, even when etcd is clustered).
Any previously used etcd key/values are re-used when they’re no longer needed (see https://etcd.io/docs/v3.5/op-guide/maintenance/#defragmentation):
After compacting the keyspace, the backend database may exhibit internal fragmentation. Any internal fragmentation is space that is free to use by the backend but still consumes storage space. Compacting old revisions internally fragments etcd by leaving gaps in backend database. Fragmented space is available for use by etcd but unavailable to the host filesystem. In other words, deleting application data does not reclaim the space on disk.
History Compaction seems to be the most important part for keeping DB size from growing uncontrollably. You will want to not limit ETCD initially until you have a fully used production environment, else you won’t know how large the DB size can grow before it stabilizes.
We recommend graphing and monitoring the following etcd metrics:
etcd_mvcc_db_total_size_in_bytes: Shows the database size including free space waiting for defragmentation.etcd_mvcc_db_total_size_in_use_in_bytes: Indicates the actual database usage after a history compaction.
Again, the etcd_mvcc_db_total_size_in_bytes increases only when the former is close to it, meaning when both of these metrics are close to the quota, a history compaction is required to avoid triggering the space quota. Defragmentation is only needed when the in_use remains well below the total metric for a period of time (ensure it does not happen while the Anka Cloud is being actively used).
History Compaction
By default, we set and recommend 30m compaction. There are dangers in having this happen too soon or too late, but they are entirely dependent on your environment size and usage. You can read more about this on the official documentation.
Defragmentation
In versions of the Anka Build Cloud <= 1.27.0, we would have the Controller trigger a defragmentation every 3 hours. We’ve disabled this by default and administrators should be aware that the DB size will eventually stop increasing once the Anka environment is fully utilized at least once. Defragmentation can be executed manually, but it’s not necessary and you must ensure it does not happen while the Anka Cloud is being actively used. Read about ETCD defragmentation here.
ETCD Snapshotting
It’s always a good idea to take frequent snapshots of the etcd data. This helps if you have to recover from data loss or a crash of your Build Cloud host. In this guide, we’ll not only show you how to take a snapshot, but also how to restore it to a different etcd.
The official ETCD snapshotting docs can be found at https://etcd.io/docs/v3.5/op-guide/recovery/#snapshotting-the-keyspace.
Taking a snapshot
docker exec -e ETCDCTL_API=3 anka-build-cloud-etcd-1 /usr/local/bin/etcdctl snapshot save /tmp/snapshot.db
docker cp anka-build-cloud-etcd-1:/tmp/snapshot.db ./
Output should be something like:
{"level":"info","ts":1646315443.450814,"caller":"snapshot/v3_snapshot.go:68","msg":"created temporary db file","path":"snapshot.db.part"}
{"level":"info","ts":1646315443.4519353,"logger":"client","caller":"v3/maintenance.go:211","msg":"opened snapshot stream; downloading"}
{"level":"info","ts":1646315443.451973,"caller":"snapshot/v3_snapshot.go:76","msg":"fetching snapshot","endpoint":"127.0.0.1:2379"}
{"level":"info","ts":1646315443.4534197,"logger":"client","caller":"v3/maintenance.go:219","msg":"completed snapshot read; closing"}
{"level":"info","ts":1646315443.5064054,"caller":"snapshot/v3_snapshot.go:91","msg":"fetched snapshot","endpoint":"127.0.0.1:2379","size":"41 kB","took":"now"}
{"level":"info","ts":1646315443.5067463,"caller":"snapshot/v3_snapshot.go:100","msg":"saved","path":"snapshot.db"}
Snapshot saved at snapshot.db
Recovering from snapshot
Let’s say that you’ve created a brand new server and unpacked the docker package’s tar.gz.
The default data directory/volume the docker-compose.yml sets for etcd is /var/etcd-data. Before you start, you want to restore the snapshot from the server/host level into the data directory for etcd:
We include the etcdctl binary for you to use inside of the package.
cd ~/anka-controller-registry-1.22.0-5dc750f1/
./etcd/etcdctl snapshot restore --data-dir /var/etcd-data ./snapshot.db
Output should look something like:
2022-03-03T16:04:16+02:00	info	snapshot/v3_snapshot.go:251	restoring snapshot	{"path": "snapshot.db", "wal-dir": "etcd-data/member/wal", "data-dir": "etcd-data", "snap-dir": "etcd-data/member/snap", "stack": "go.etcd.io/etcd/etcdutl/v3/snapshot.(*v3Manager).Restore\n\t/tmp/etcd-release-3.5.1/etcd/release/etcd/etcdutl/snapshot/v3_snapshot.go:257\ngo.etcd.io/etcd/etcdutl/v3/etcdutl.SnapshotRestoreCommandFunc\n\t/tmp/etcd-release-3.5.1/etcd/release/etcd/etcdutl/etcdutl/snapshot_command.go:147\ngo.etcd.io/etcd/etcdctl/v3/ctlv3/command.snapshotRestoreCommandFunc\n\t/tmp/etcd-release-3.5.1/etcd/release/etcd/etcdctl/ctlv3/command/snapshot_command.go:128\ngithub.com/spf13/cobra.(*Command).execute\n\t/home/remote/sbatsche/.gvm/pkgsets/go1.16.3/global/pkg/mod/github.com/spf13/[email protected]/command.go:856\ngithub.com/spf13/cobra.(*Command).ExecuteC\n\t/home/remote/sbatsche/.gvm/pkgsets/go1.16.3/global/pkg/mod/github.com/spf13/[email protected]/command.go:960\ngithub.com/spf13/cobra.(*Command).Execute\n\t/home/remote/sbatsche/.gvm/pkgsets/go1.16.3/global/pkg/mod/github.com/spf13/[email protected]/command.go:897\ngo.etcd.io/etcd/etcdctl/v3/ctlv3.Start\n\t/tmp/etcd-release-3.5.1/etcd/release/etcd/etcdctl/ctlv3/ctl.go:107\ngo.etcd.io/etcd/etcdctl/v3/ctlv3.MustStart\n\t/tmp/etcd-release-3.5.1/etcd/release/etcd/etcdctl/ctlv3/ctl.go:111\nmain.main\n\t/tmp/etcd-release-3.5.1/etcd/release/etcd/etcdctl/main.go:59\nruntime.main\n\t/home/remote/sbatsche/.gvm/gos/go1.16.3/src/runtime/proc.go:225"}
2022-03-03T16:04:16+02:00	info	membership/store.go:141	Trimming membership information from the backend...
2022-03-03T16:04:16+02:00	info	membership/cluster.go:421	added member	{"cluster-id": "cdf818194e3a8c32", "local-member-id": "0", "added-peer-id": "8e9e05c52164694d", "added-peer-peer-urls": ["http://localhost:2380"]}
2022-03-03T16:04:16+02:00	info	snapshot/v3_snapshot.go:272	restored snapshot	{"path": "snapshot.db", "wal-dir": "etcd-data/member/wal", "data-dir": "etcd-data", "snap-dir": "etcd-data/member/snap"}
Once restored, you can now start with docker-compose up -d and you will see a similar list of instances and nodes as the previous controller.
Be sure that the FQDN or IP you’re using for the Anka Nodes to join now points to the new machine or else they will need to be disjoined and rejoined to the new server.
We recommend looking through the entire ETCD operations guide to gain a better understanding of everything we’ve spoken about here, and more!
Standalone Registry
Often we find that customers wish to only run the Anka Build Cloud Registry and not the Controller. This is a useful setup when you’re using a Controller-less Build Cloud.
In order to run the standalone registry you’ll:
- Follow the installation guide above, but:
skip the sections to configure the controller. This means only set the registry volume.
before you
docker-compose up -d, comment out or remove the Controller and ETCD services from the yml.
What next?
- Prepare and join your machines to the Build Cloud.
- Connect the cloud to your CI software.
- Find out how to use the Controller REST API.