Setting up the Controller & Registry on macOS
Welcome! This tutorial guides you through setting up your Anka Build Cloud Controller & Registry on MacOS.
Checklist
- Set up the Anka Build Cloud components.
- Get Orientated.
MacOS
The macOS package will install and run using Apple’s Rosetta. There is no native arm package at this time.
Necessary Hardware
- A Mac to install the Anka Controller and/or Registry.
- A second Mac to install the Anka CLI (the “Node”).
You can complete this tutorial with only one machine running Mac OS, but it’s not recommended.
Download the Controller and Registry packages
Download links are available on the Anka Build Download page.
If you are more comfortable with the command line, you can download the file with curl:
Controller
ARM64 / Silicon
curl -S -L -o ~/Downloads/$(echo $(curl -Ls -r 0-1 -o /dev/null -w %{url_effective} https://veertu.com/downloads/anka-build-cloud-controller-darwin-arm64-latest) | cut -d/ -f5) https://veertu.com/downloads/anka-build-cloud-controller-darwin-arm64-latest
AMD64 / Intel
curl -S -L -o ~/Downloads/$(echo $(curl -Ls -r 0-1 -o /dev/null -w %{url_effective} https://veertu.com/downloads/anka-build-cloud-controller-darwin-amd64-latest) | cut -d/ -f5) https://veertu.com/downloads/anka-build-cloud-controller-darwin-amd64-latest
Registry
ARM64 / Silicon
curl -S -L -o ~/Downloads/$(echo $(curl -Ls -r 0-1 -o /dev/null -w %{url_effective} https://veertu.com/downloads/anka-build-cloud-registry-darwin-arm64-latest) | cut -d/ -f5) https://veertu.com/downloads/anka-build-cloud-registry-darwin-arm64-latest
AMD64 / Intel
curl -S -L -o ~/Downloads/$(echo $(curl -Ls -r 0-1 -o /dev/null -w %{url_effective} https://veertu.com/downloads/anka-build-cloud-registry-darwin-amd64-latest) | cut -d/ -f5) https://veertu.com/downloads/anka-build-cloud-registry-darwin-amd64-latest
Install the packages
Double click on the .pkg to start the UI install process. Or, you can install the package using the command line:
sudo installer -pkg ~/Downloads/{pkg here} -target /
Verify your installation
❯ sudo anka-controller status; sudo anka-registry status
Anka Controller is Running
Anka Registry is Running
Orientation
Controller
- Command:
anka-controller [start|stop|restart|status|logs] - Default Port:
80 - Controller binary:
/Library/Application Support/Veertu/Anka/bin/anka-controller - Launchd daemon:
/Library/LaunchDaemons/com.veertu.anka.controller.plist - Configuration file:
/usr/local/bin/anka-controllerd - Logs:
/Library/Logs/Veertu/AnkaController - ETCD data will be saved in:
/Library/Application Support/Veertu/Anka/anka-controller
Registry
- Command:
anka-registry [start|stop|restart|status|logs] - Default Ports:
8089 - Registry binary:
/Library/Application Support/Veertu/Anka/bin/anka-registry - Launchd daemon:
/Library/LaunchDaemons/com.veertu.anka.registry.plist - Configuration file:
/usr/local/bin/anka-registryd - By default, Registry storage is set to:
/Library/Application Support/Veertu/Anka/registry
Changing the location from the default may require that you give Full Disk Access to the Registry binary. This is done under System Preferences > Privacy & Security.
Configuration
You can find a list of ENVs available to use and examples in your configuration in our Config Reference.
In the /usr/local/bin/anka-controllerd you’ll need to set ANKA_ANKA_REGISTRY to the IP and port of the registry. This is usually 127.0.0.1:8089.
Logging
You can modify the destination in the /usr/local/bin/anka-controllerd and /usr/local/bin/anka-registryd file (reference).
/Library/Logs/Veertu/AnkaController/anka-controller.INFO
/Library/Logs/Veertu/AnkaController/anka-controller.WARNING
/Library/Logs/Veertu/AnkaController/anka-controller.ERROR
Show logs by command:
sudo anka-controller logs(similar totail -f)There are 4 types of log files, in the snapshot you can see log files without ID, they are LINK files- point to the latest log been created ( the last active vm) , each vm can generate all of the log types below. the robosety of the logs are from highest(INFO) to the lowest(ERROR), you can check this files using ’tail’ command:
anka-controller.INFO- contains ALL logs.anka-controller.WARNING- contains WARNINGS & ERRORS.anka-controller.ERROR- contains just ERRORS.anka_agent.FATAL- Only FATAL ERRORS (both controller and agent).
The mac controller package relies on an internal ETCD database. Logs for ETCD will be included in the controller logs, but by default they are set to be non-verbose.
/Library/Logs/Veertu/AnkaRegistry/anka-registry.INFO
/Library/Logs/Veertu/AnkaRegistry/anka-registry.WARNING
/Library/Logs/Veertu/AnkaRegistry/anka-registry.ERROR
The log level can be modified from the default 0 value. The higher the number, the more verbose the logging. To set this, you’ll add-v 10at the end of/Library/Application\ Support/Veertu/Anka/bin/anka-controllerinside of your/usr/local/bin/anka-controllerd(or anka-registryd).
You can also watch the logs live (similar to tail -f)
sudo anka-controller logs
Link the Anka Virtualization Node to the Controller
Great! Now that we have our Anka Controller & Registry up and running, let’s add Nodes!
Perform the following steps on the Node where you created your first VM Template.
Add the Registry
This is not needed on all Nodes connecting to the Controller. Most users have a “builder machine” that has the registry connection and is used to create and push VM Templates/Tags.
Assuming you haven’t changed the default port configuration, your Registry is serving requests on port 8089.We now need to configure the Registry on this machine so we can push/upload the local VM Template so other machines connected to the Anka Build Cloud. Uploading the Template to the Registry makes it possible to download and run it from other nodes.
sudo anka registry add <registry name> http://<ip>:8089
Verify the configuration:
sudo anka registry list-repos
++
++

<registry name you set> (default)

+--------+------------------+
| host   | <the ip you set> |
+--------+------------------+
| scheme | http             |
+--------+------------------+
| port   | 8089             |
+--------+------------------+
Then, confirm the registry list command shows your VM Template:
sudo anka registry list
Push the VM to the Registry
sudo anka registry -r http://anka.registry:8089 push 12.X -t base
In the example above,-r {URL}is used, but is not required if you’ve added the Registry usinganka registry add.
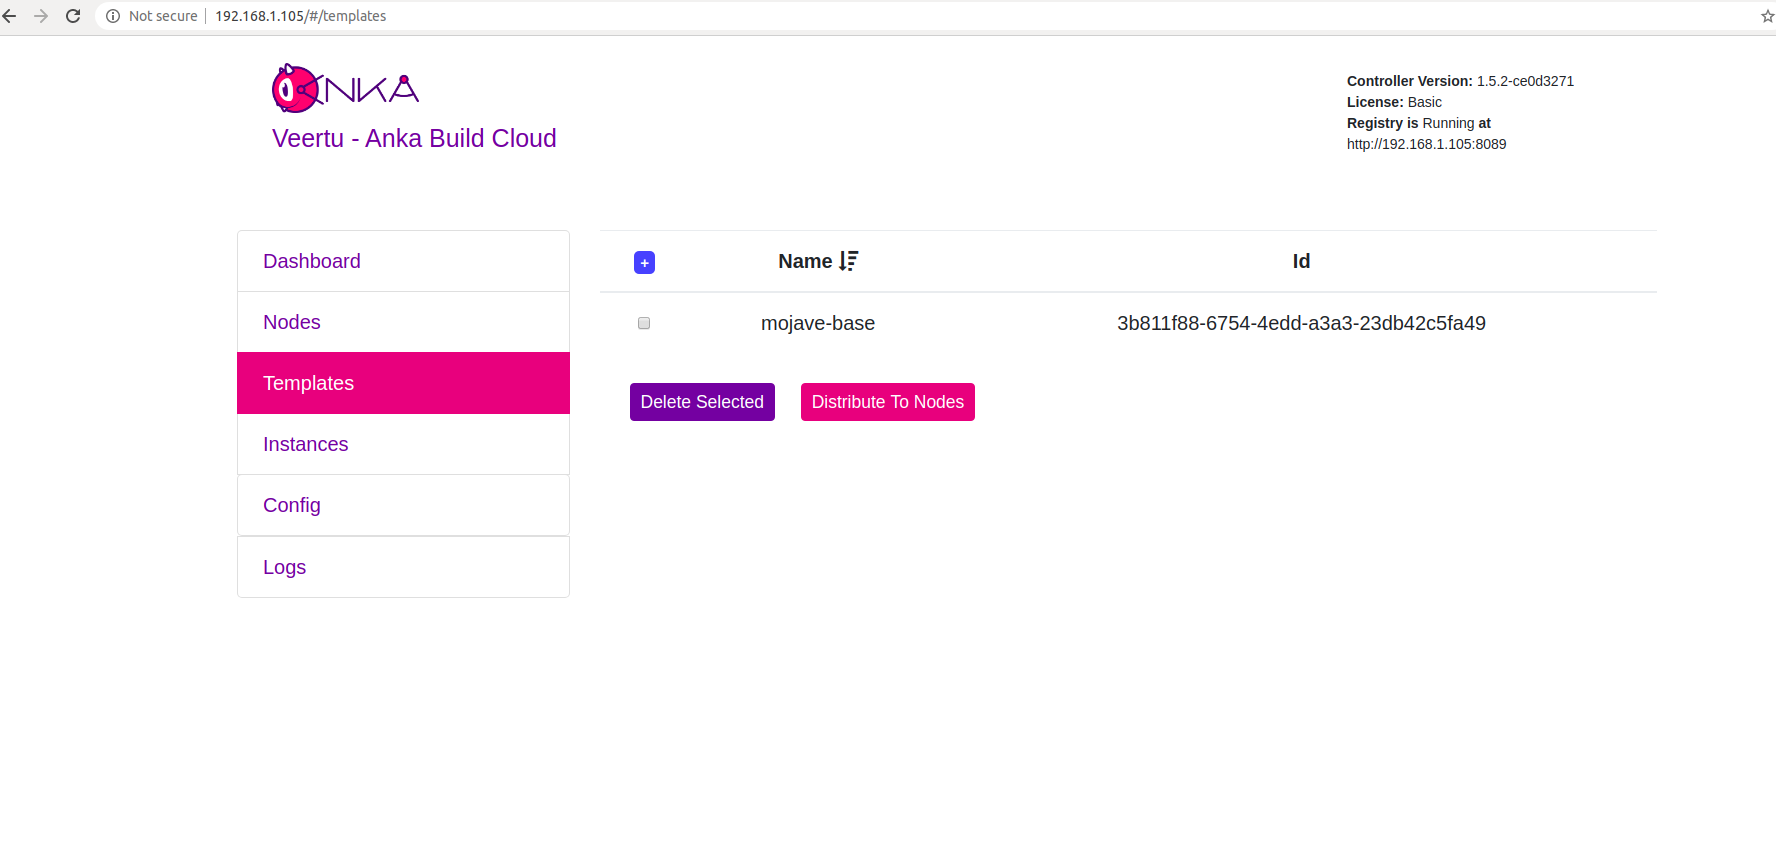
After the push completes, you should see your new Template in the “Templates” section of the controller UI.
Alternatively, you can use OCI compliant registries. See OCI Registry Support for more details.
What next?
- Prepare and join your machines to the Build Cloud.
- Connect the cloud to your CI software.
- Find out how to use the Controller REST API.